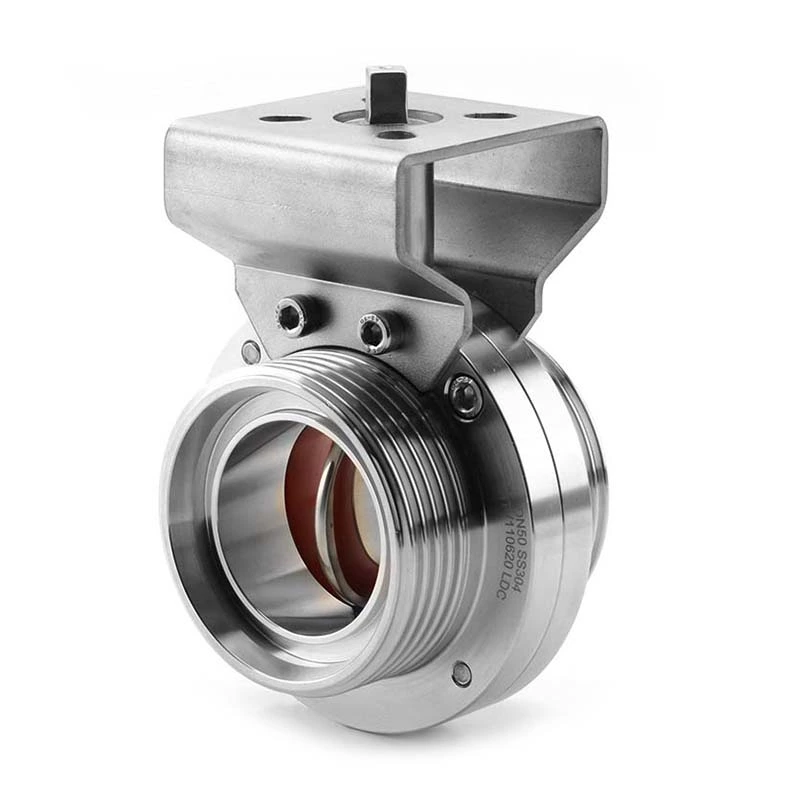
Common Failures And Solutions For Leak-proof Butterfly Valves
Sanitary Butterfly Valve Common faults and troubleshooting methods
①Leakage at the right and left valve bodies. Trim the sealing surface, remove dirt, replace the gasket, and tighten the nuts evenly and alternately.
②Packing leakage. Tighten the gland bolts or replace the packing (1 upper packing, 2 middle packings, and 1 lower packing). Be careful not to cut the edges during installation, and tighten the gland bolts evenly.
③The valve stem is not flexible. Loosen the gland bolts, evenly loosen the left and right connecting nuts or thicken the gasket to reduce the preload, and be careful not to leak.
④Seal leakage. Tighten the left and right body connecting nuts evenly and alternately to increase the preload, or adjust the sealing seat, gasket, and clean the sealing groove.
⑤When the ball valve cannot be turned, do not put an auxiliary lever or other tools on the wrench to force it, as this will damage the valve stem. If the operation is difficult, the cause should be analyzed. The closing parts of some valves expand due to heat, making it difficult to open. At this time, the gland bolts can be loosened and the valve stem stress can be removed before opening. If the packing is too tight, the packing can be loosened appropriately.
⑥ Ball valves can only be fully opened or fully closed, and are generally not allowed to be used for adjustment and throttling. For ball valves with wrenches, the wrench is fully opened when it is parallel to the channel, and fully closed when it is turned 90°.
⑦ Seal leakage. Tighten the left and right body connection nuts evenly and alternately to increase the preload, or replace the sealing seat and sealing gasket and clean the sealing groove.
