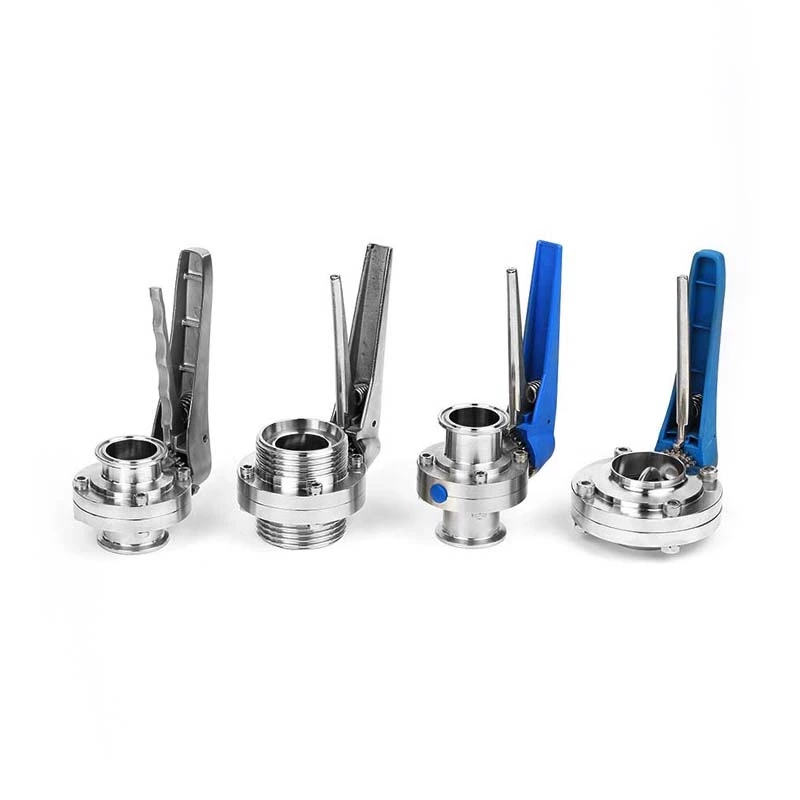
Installation Tips For Stainless Steel Quick-install Butterfly Valves
Sanitary Butterfly Valve As an important component in the fluid control system, its installation quality is directly related to the operating efficiency and safety of the entire system. Before installation, sufficient preparation is required. Check whether the specifications, models and materials of the valve meet the design requirements, and check whether the pressure level, connection method and other parameters of the valve match the pipeline system. Secondly, check whether the appearance of the valve is damaged or defective to ensure that the valve is intact. Clean up the debris and dirt in the pipeline to ensure that the pipeline is unobstructed.
The installation environment should be dry and well ventilated, and the temperature and humidity should meet the requirements of relevant standards. Avoid installation in an environment with corrosive gases or a lot of dust to avoid damage to the valve. At the same time, keep it clean during the installation process to avoid debris from entering the valve cavity.
The installation direction should be carried out in accordance with the design requirements. Under normal circumstances, the arrow direction of the butterfly valve should be consistent with the flow direction of the fluid. In special cases, such as horizontal installation or vertical installation, a suitable installation method should be selected. At the same time, during the installation process, it is necessary to ensure that the bracket and support seat of the valve are stable and reliable to prevent the valve from shaking or shifting during use.
Detailed installation steps of stainless steel quick-install butterfly valve:
1. Place it between the two pre-installed flanges to ensure that the center line of the valve is aligned with the center line of the pipeline.
2. Gently insert the four pairs of bolts and nuts into the flange holes, and tighten the nuts slightly to correct the flatness of the flange surface. During this process, be careful not to use excessive force to avoid damaging the flange or valve.
3. Fix the flange to the pipeline by spot welding to ensure that the welding quality meets the relevant standards.
4. Remove and wait for the flange to cool after welding.
5. After the weld has cooled, install the stainless steel quick-install butterfly valve into the flange again to ensure that it has enough room for movement in the flange to prevent damage. At the same time, ensure that the valve plate has a certain opening for subsequent operations.
6. Correct the position and tighten the four pairs of bolts. Be careful not to tighten too much to avoid damaging the valve or flange.
7. Open it to ensure that the valve plate can open and close freely, and then open the valve plate slightly. During this process, check whether the opening and closing of the valve are flexible and smooth, and if there is any abnormality, it should be handled in time.
8. Tighten all nuts crosswise and evenly to ensure the valve is installed firmly and reliably.
9. Check again to confirm that the stainless steel quick-install butterfly valve can open and close freely to ensure correct installation.
