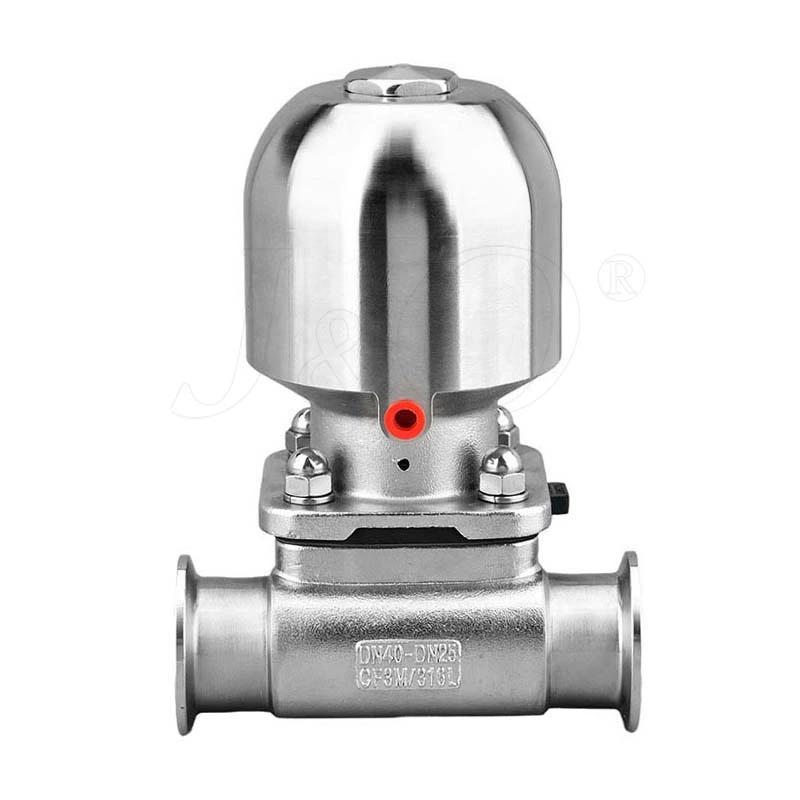
Sanitary Diaphragm Valve Installation Specifications
The installation specifications of Sanitary Diaphragm Valve are as follows:
1. Applicable safety regulations must be followed;
2. Before installing the valve, ensure that the pipeline is free of impurities, otherwise the valve will be damaged;
3. When connecting the pneumatic sanitary diaphragm valve, pay attention to aligning the pipeline;
4. For all sanitary pneumatic diaphragm valves, the actuator must be disassembled before welding on the valve body;
5. When replacing the diaphragm, the diaphragm must be kept in the open position connection with the sealing surface, and then the diaphragm and the sealing surface must be separated.
For normally open pneumatic sanitary diaphragm valves:
Ventilate the actuator to lift the diaphragm and separate it from the sealing surface. Cross-remove the four screws on the valve body to separate the actuator from the valve seat, cut off the air source, and replace the diaphragm; ventilate the actuator to retract the diaphragm; align the sealing surface of the diaphragm and the valve seat, cross-install the fixing screws, repeatedly ventilate several times, close the diaphragm valve for leak testing, and it can be used normally.