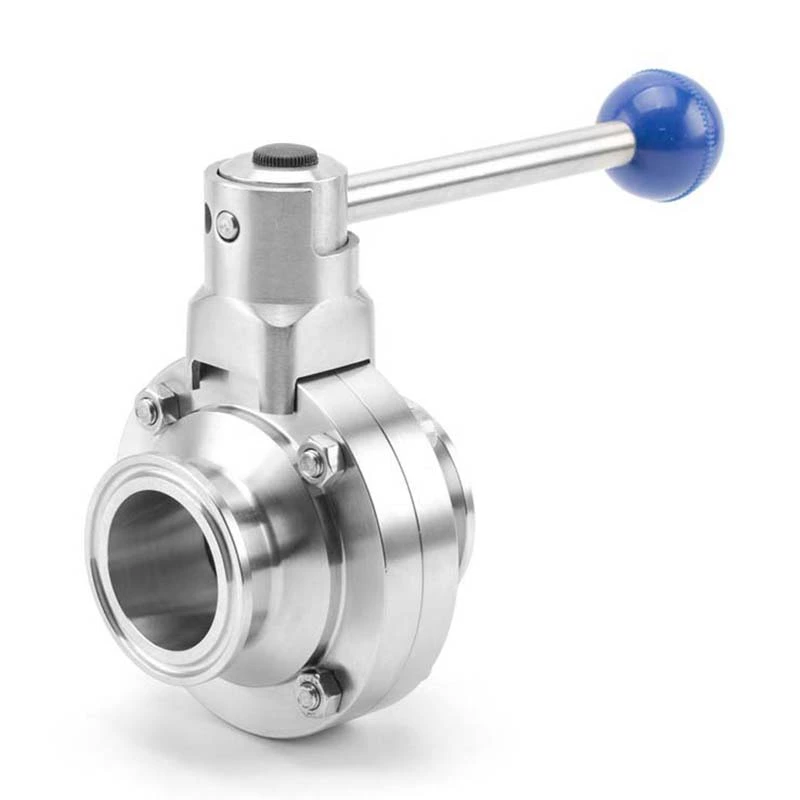
Seven Steps To Complete The Cleaning Of Sanitary Butterfly Valves
Steps to complete the Sanitary Butterfly Valve cleaning operation
Step 1, first remove the protective covers on both sides of the flange end, and flush and clean the sanitary butterfly valve body when it is fully opened;
Step 2, before installation, the whole machine must be tested according to the specified signal, and it can be installed online only after passing the test;
Step 3, before preparing to connect to the pipeline, the remaining impurities in the pipeline must be flushed and cleaned;
Step 4, during installation, do not use the actuator part that is not a ball valve as a lifting point to avoid damage to the actuator and accessories;
Step 5, sanitary butterfly valves should be installed in the horizontal or vertical direction of the pipeline;
Step 6, the pipeline near the installation point of the sanitary butterfly valve must not be drooping or subjected to external forces, and a pipeline bracket or support can be used to eliminate the deviation of the pipeline;
Step 7, after connecting to the pipeline, please cross-tighten the flange connection bolts with the specified torque.
